Blaster 12V

Blaster is the ultimate side-lit LED module for large cabinets and lightboxes.

Product Specs

  • Power Output

    4.5W (12V)

  • Lumens

    360lm

  • Colours Available

    6500K

  • Dimensions

    74 x 33 x 21mm

  • Ingress Protection

    IP67

  • Warranty

    5 Years

  • Max Series

    15 Modules Per Series

  • Includes

    15 Modules Per Pack

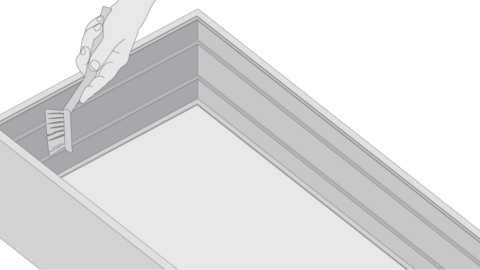
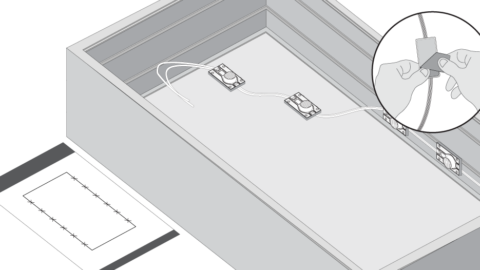
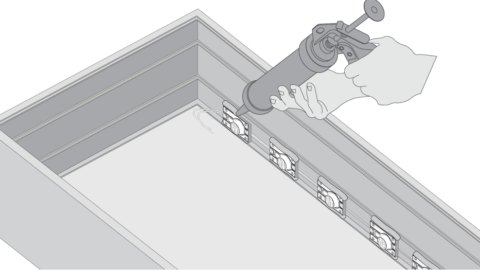
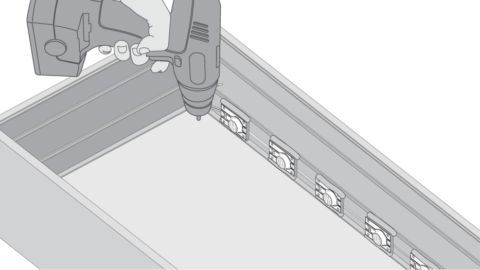
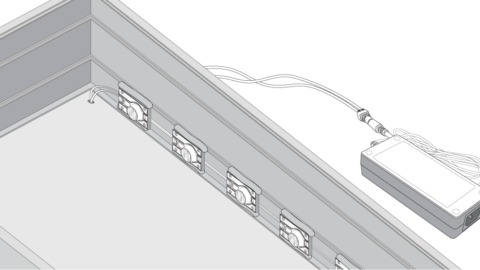
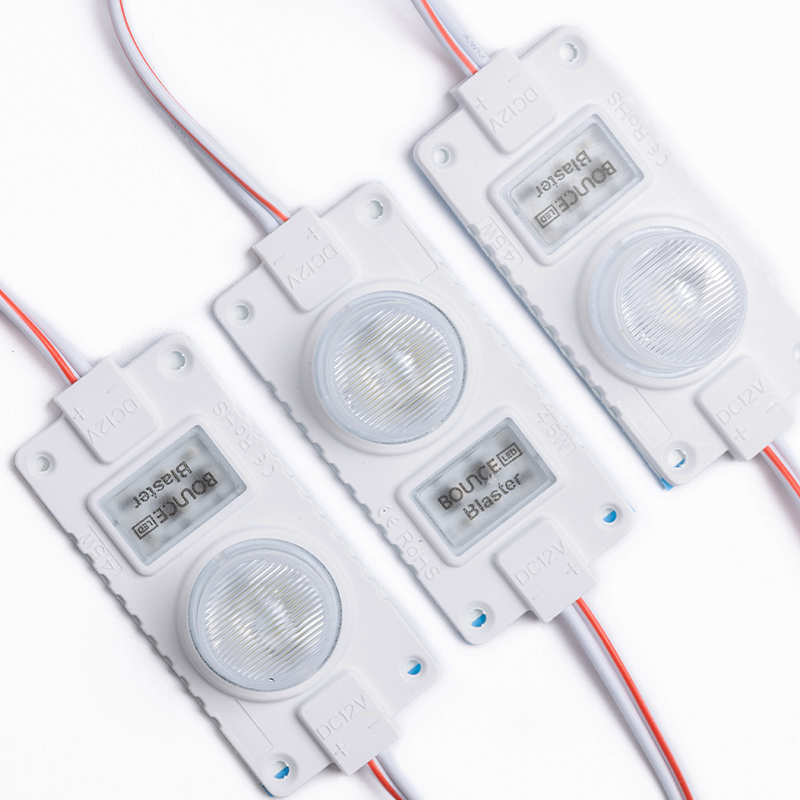
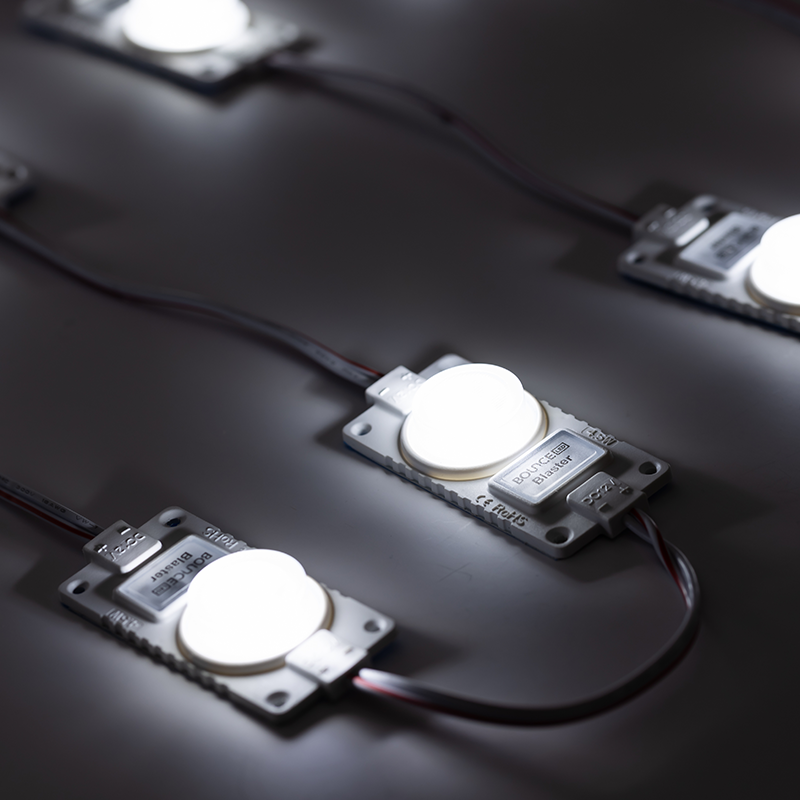
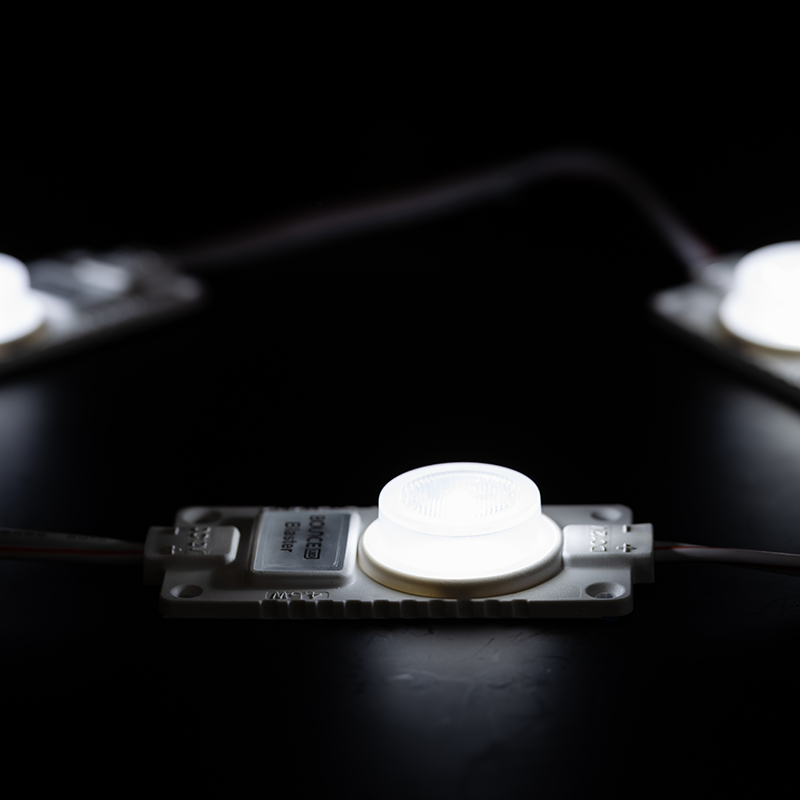
For large LED cabinets, light boxes and signs, you can’t go past the Blaster.

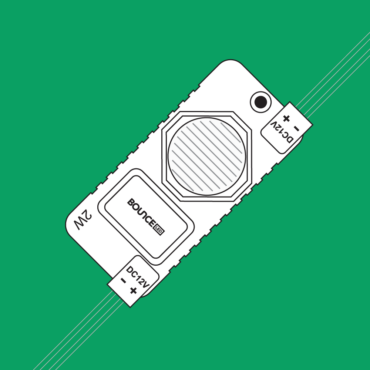
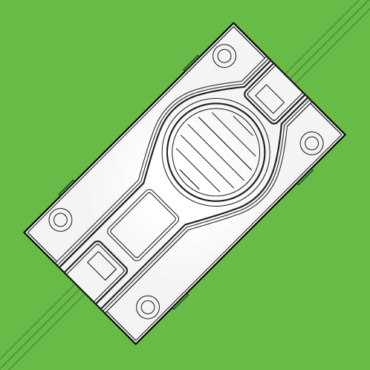
Side lit, back lit and edge lit – Blaster does it all with an impressive 4.5W per module, that projects a sheet of light up to a remarkable 1.5m. With even and efficient illumination of lightboxes 150mm up to 300mm in depth, the Blaster is the ultimate cabinet LED module for indoor and outdoor lighting installations. Blaster is available in Cool White (6500K), with an impressive 5 year warranty.

Find all the latest product specifications and guides below:

Colour

6500K

IP Rating

Installation guide

1
Ensure the inside of your channel letter or sign box is clean and free of debris. For best illumination ensure the inside of the box is white (matte finish preferred).
2
Using supplied LED layout, remove tape from module and press in place. For best illumination, install modules two-thirds of the way towards the back of the box for single-sided signs, centralised for double-sided signs.
3
Note that LEDs are only cuttable every 3x modules. This is indicated by a printed red marking on the wire.
4
Secure the LEDs by gluing modules in place.
5
Drill a suitably sized hole out the back of the sign for connection to DC power supply.
6
Connect modules from the sign to power supply, making sure to not exceed 15 modules per series. Exceeding 15 modules per series will lead to voltage drop and uneven illumination.

Warning

Risk of electrical shock. Please read these instructions completely and carefully. Disconnect power before servicing or installing product.

Frequently asked question

Our Blaster cabinet LED module has been designed for many indoor and outdoor lighting installations, and is excellent in the following applications:

  • Cabinet Lighting
  • Light Boxes
  • Backlit Installations
  • Sidelit Installations
  • Edgelit Installations
  • Dimmable (with controller)

Follow these steps on how to install the Blaster cabinet LED module.

  1. Ensure the inside of your sign box is clean and free of debris. For best illumination ensure the inside of the box is white (matte finish preferred)
  2. Using the supplied LED layout, remove tape from the rear side of the LED module and stick into place. For best illumination, install modules two-thirds of the way towards the back of the box for single sided signs and centralised for double-sided signs.
  3. Note that the Blaster LEDs are only cuttable every 3 x modules. This is indicated by a red mark on the wire.
  4. Secure the LEDs by glueing modules in place.
  5. Drill holes out the back of your letter or sign box for connection to DC power supply.
  6. Wire the LED modules from the sign to the power supply.
  7. You can install the Blaster to a maximum of 15 modules per series. Always check the max series to avoid a voltage drop.

We have a range of dimmable drivers and controllers, suitable for use with the Blaster cabinet LED module.

Use our free online estimator tool, Bounce Wizard, to work out exactly how many LED modules you’ll need for your next LED lighting or signage project.

Use Bounce Wizard, our free online estimator tool, to work out how many Blaster LED module Cabinet LED modules you’ll need for your next project.